If you require to use this kind of emphasis in many documents in DBT, you can create a Template, and add these as Styles.
1) Open a new document using your current Template.
2) From DBT's Document menu, select "Create Style".
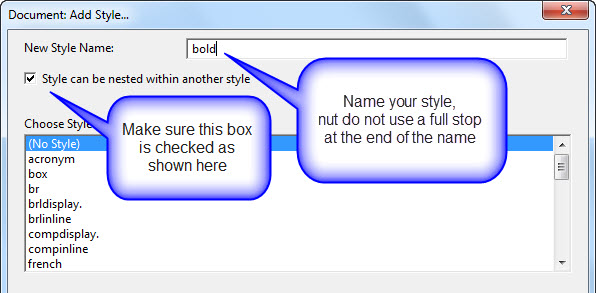
3) The following dialog will appear. Give your style a name, in this case "bold", and ensure the check box labeled "Style can be nested within another style" is checked.
If you wish, you may select an existing style should you simply wish to modify it.
Click on the OK button at the foot of the dialog. (not shown here)
4) The following dialog will now appear:
![Image shows Edit Style Code dialog with Beginning Code of [fts~b] and Ending Code of [fte~b]](../Resources/Images/the_menus/menu_document/menu_document_add_style_2.jpg)
5) You may now enter the Beginning and Ending Codes as shown above. These are the codes for producing the Bold indicators.
In the Beginning Codes, an either:-
a) hold down the Ctrl key and press the left square bracket "[", then type fte~b, and press Enter, or....
b) press F9, in which case a pair of brackets will appear with the cursor between them. Again simply type the fts~b code. (If you need to add an additional code, make sure your cursor does not remain inside an existing code.
Repeat a) or b) above to enter the Ending Codes, but this time use the Code fte~b
6) Click on the OK button, and you should see you new Style appear in the alphabetic Style list.

If you wish, you may repeat the above exercise adding Italics and Underline. The codes are as follows.
Italics - Begin: fts~i End fte~i
Underline - Begin: fts~u End fte~u
DBT will not allow you to modify any of its standard Templates, therefore you will need to create a new Template in order to have your new Styles available.
This process is selected from the Document menu.
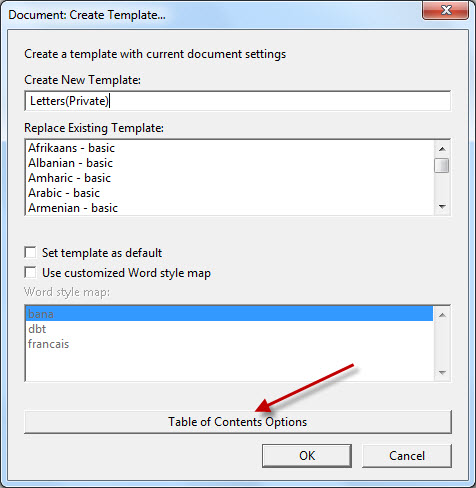
The following dialog will appear. The numbered, arrowed items are explained below.
1. Template Name. Remember that the list is alphabetically arranged, hence care should be taken when deciding on a name, especially if others have to look for it in the list.
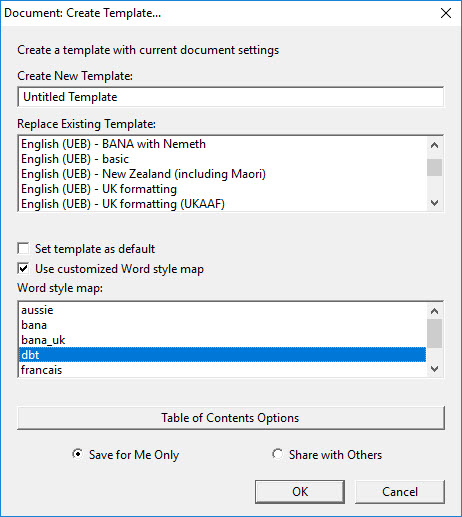
2. If you wish, you may check the "Set template as default" box if you wish this to be your default template for all documents.
3. Use customized Word style map is a feature of DBT which allows you to "map" custom Word Styles to DBT Styles. This is rather a technical subject and it explained in detail in Using .mws files with DBTWin.
4. If you use Tables of Contents in documents, you may at this stage customize the TOC to suit your local requirements. This topic is explained in detail in Layout: Generate Table of Contents.
FINALLY, click on OK to save your Template.
When you now import or create a new document, you will see the new Template in the list.

Your new Styles will also appear when you call up the Layout:Apply Style dialog.
To apply the style to text, first highlight the appropriate word or text.

Call up the Apply Style dialog, and select the style you wish. (In this case "bold")

And if you hold down Alt and press the F3 key, you will see the Styles themselves. (Repeat Alt + F3 to hide revert to the normal screen)

And of course, the all important braille. (PLEASE NOTE, the following example uses English (British) braille with no capitals.)