
Keystroke: Alt+G, P from the Global menu.
The GLOBAL version of the printer setup dialog affects only new documents. To make changes to the current document, you must use DOCUMENT: Printer Setup.
Note: Be aware that there are two likely situations where you may want to print a document as opposed to embossing it. The first is to obtain a copy of your text document, and the second to obtain a print copy of your braille document - as often done by sighted braille proofreaders.
When you select the Printer Setup menu item from either the Global or Document menu, the following dialog displays.
Printer... (button, or press Alt + p): It may seem odd to start at the bottom of the dialog, but you need to select an ink printer before making the other selections in the dialog. The Printer button displays a sub-dialog where you can select any printer installed on the system. From the Name drop down list, select the printer you wish to use. When you make this selection from the Global menu, you are setting your most common choice for printing, a.k.a, your "default printer".
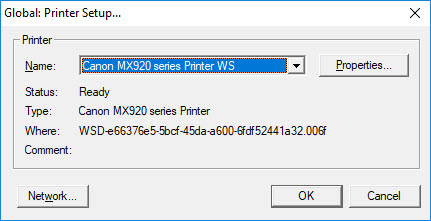
Properties: (button): This button opens a dialog which shows the properties for the selected printer. Each printer generally has its own Properties dialog. As these vary considerably, you may need to refer to your printer manual for details.
Network: (button): If your printer is on a Network, this button opens the Windows Network Printer dialog for your version of Windows. If you are unsure about this function, please check with your system administrator.
When you have selected your printer, press OK to return to the main Printer Setup dialog and proceed as explained below.
Size: In this drop down list box you can select the size of paper to be used for printed output. The list of sizes available is determined by the make and model of printer selected.
Source: Some printers allow you to feed paper in a variety of ways; some have multiple paper trays to enable you to select different types of paper. The options depend on the make and model of printer selected.
Portrait or Landscape: (radio buttons): Select one of these buttons to set the direction of the print on the paper. Portrait orientation provides more lines per page (with shorter lines), and Landscape provides very long lines (but fewer lines per page).
This set of text fields allows you to enter Left, Right, Top and Bottom margins.
You may enter Lines per Page and Characters per Line here. However - please note the following:
If you are happy with your changes, press the OK button. To leave without making any changes press Cancel.