Almost everyone who installs Perky Duck does a simple installation. The instructions for a Custom installation follow those for Simple Installation, and last are the instructions to uninstall the program.
Chances are that you can get Perky Duck installed with only these instructions, or, for that matter without any instructions at all. Installation of Perky Duck is usually as simple as clicking on the download link and following the prompts. But this guide is included to help you along the way.
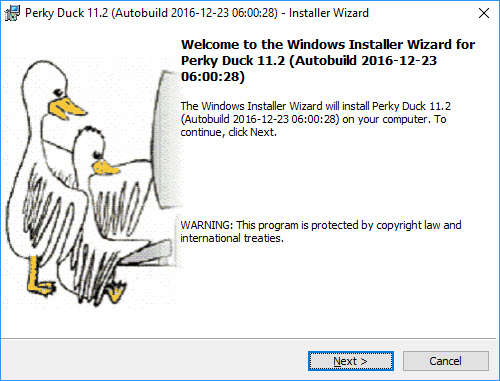
To start, click on the download link and choose Run. After a moment you should see the installer Welcome Screen.
Click the Next button, or type Alt+N or Enter, to continue. If you wish to quit now, or on any subsequent screen, click the Cancel button, or type Escape. Your system will not be changed regardless of when you choose to cancel the installation.
Next, you will see the license agreement.
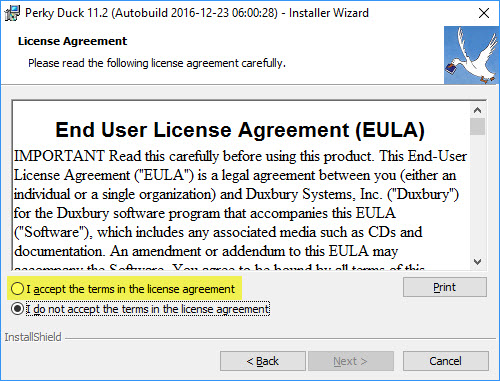
The Next button is initially disabled. In order to continue installation, you must accept the terms of the license agreement by selecting the radio button so labeled, or by typing Alt+A. If this is your first time installing Perky Duck we urge you to read the text first. If you choose not to accept the agreement, you may cancel installation.
If you accept the license agreement, click Next, or type Alt+N or Enter, to continue.
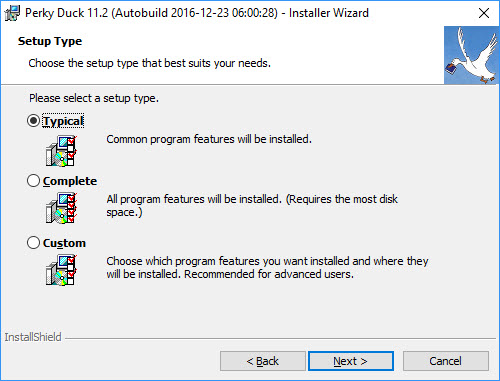
This step couldn't be simpler! You'll see a screen with three options. Just leave Typical selected and click Next, or type Alt+N or Enter to continue. Changing anything in this dialog before clicking Next would start you along toward a Custom Installation. We don't recommend that for most users.
The next screen shows you the answers that you've chosen so far.
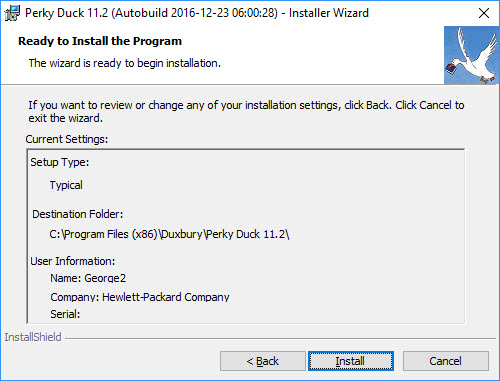
This is your chance to review the information you have given to the installer. If you want to change any of your choices, click the Back button or type Alt+B to return to the previous screen. That screen, in turn, will have a Back button, and so forth back to the first screen of the installer. Once you have made your corrections, use the Next button (or type Alt+N) in each dialog, until you return to this one.
Usually, however, there is no need to use that Back button. Just click the Install button, or type Alt+I or Enter, to let the installer go about its work. As the installer proceeds, you will see a screen with a status bar to show your progress.
Even now, you can cancel the installation, though this takes longer than it would have before, because canceling now leaves the installer with some cleanup tasks (which it handles automatically) in order to leave your computer unmodified.
The status bar will reset itself several times and progress again from the left to the right. This is perfectly normal for this kind of program installation.
When the installer has finished installing Perky Duck and configuring your system, you see one final screen.
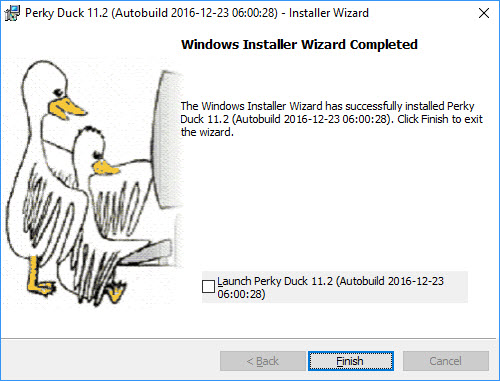
It is often a good idea to check the "Launch Perky Duck" check box (or type Alt+L) before clicking Finish.
Only "Finish" is required, but if you check "Launch Perky Duck" first, then the Installer will start Perky Duck for you. Not only does this allow you to confirm that Perky Duck is working, but you will also be able to install and configure embossers.
If you are not the end user, and the end user does not have administrative rights on this machine, then you should perform these tasks before turning the computer over to the end user.
First, be sure that you've read and understood the instructions for Simple Installation above. That topic includes full instructions for a normal Perky Duck installation. This topic only explains how to modify the Simple Installation steps to customize your installation.
You follow the same first two steps. Then you may use Custom Installation to change where Perky is installed.
Most of the files that the installer puts on your system are placed into a single folder, typically
C:\Program Files (x86)\Duxbury\Perky Duck #.#
(where #.# indicates a version number). If the default location for this folder does not suit, you can change it.
When you see the Setup Type dialog shown above (step 3 of the Simple Installation instructions), you must click Custom, or type Alt+S, before clicking Next. This choice causes the installer to insert two extra dialogs in the installation sequence.
Note: If you do not alter any of the settings in either of these two extra dialogs, then the result is exactly the same as if you had followed the Simple Installation instructions. That is, the result is a "Typical" installation.
The first extra dialog, Destination Folder, allows you to change where the software is installed. To do this, click on the first Change button, or type the Tab key until you reach it, then strike the Spacebar. You will then see the Change Current Destination Folder dialog.
If you wish, you can use the drop-down list at the top of the dialog to review the name of the current destination folder, and see the hierarchy of folders in which it will be created. (Note: the radiating lines shown in the folder icon to the left of "Perky Duck" in the dialog indicate that this will be a new folder.)
You can also use the Parent Folder and Create New Folder tool buttons that appear to the right of the drop-down list.
However, it may be simplest just to use the editable text control near the bottom of the dialog. This control shows the full path to the folder proposed as the destination for Perky Duck. This text is also highlighted when the dialog first appears, so be careful because any text you type will replace the entire proposed destination path. We recommend using an arrow key (or perhaps the Home key, if you just want to change the drive letter), before you start editing the text of this control.
If you make a mistake, just press Escape, or click the Cancel button, then push Spacebar again, or re-click the Change button in the Destination Folder dialog, to return to this dialog with the proposed destination path restored.
A new path that you specify does not need to exist. The installer will create the destination folder for you as well as any parent folders required. However, you do need to have sufficient access privileges on this computer to create the new folders.
When you have finished specifying the new destination folder, click OK or type Enter. You will be returned to the Destination Folder dialog, which will now be updated to reflect the new folder you specified. Click Next, or type Alt+N, to continue.
Note: While the Change Current Destination Folder dialog remains active, the Installer periodically checks to be sure that you are specifying a valid location — either an existing folder to which you can write files, or a path that you can create. It also checks when you click OK to dismiss the dialog. If the path is not valid, the installer may pop up an error message.
You can dismiss the error message easily enough by clicking OK or pressing Enter. The Installer may or may not then immediately "fix" your mistake by resetting the text of the Folder Name to be what it was when the dialog first appeared. Watch out for that.
You can remove Perky Duck from your system using the Windows "Programs and Features" function (a.k.a, Add/Remove Programs), which is accessible from the Control Panel.