Chances are that you can get DBT installed with only the instructions included in this topic, or, for that matter without any instructions at all. Installation of DBT should usually be as simple as inserting the CD and following the prompts. But this guide is included to help you as necessary along the way.
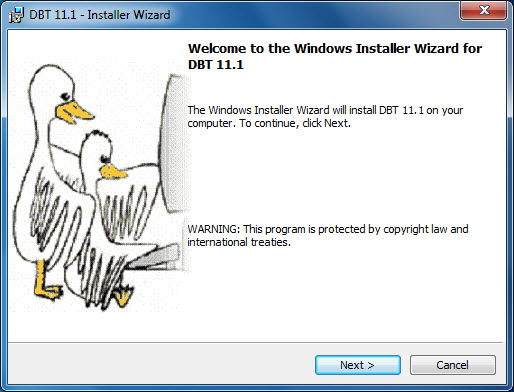
To get things started, just slide the DBT product CD into a CD drive on your computer. After a moment, you should see a screen much like the following:
Simply click the Next button, or type Alt+N or Enter, to continue. If you wish to quit now, or when viewing any subsequent screen, click the Cancel button, or type Escape. Your system will not be changed regardless of when you choose to cancel the installation.
If, for whatever, reason, inserting the CD doesn't cause the Installer Wizard to appear, then browse the CD contents for a file called dbt-1006.msi and open it, then proceed as above.
Next, you will see a screen like the following:
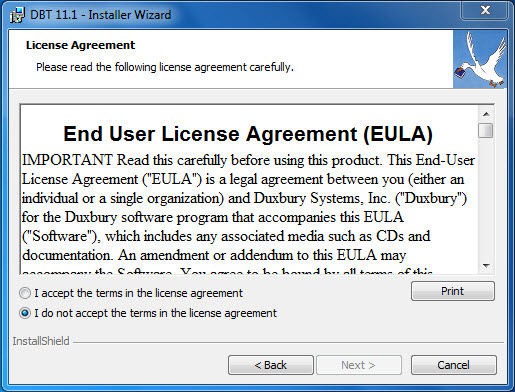
Notice that the Next button is initially disabled. In order to continue installation, you must accept the terms of the license agreement by selecting the radiobutton so labelled, or by typing Alt+A. If this is your first time installing DBT 10.6, we urge you to read the text first. If you choose not to accept the agreement, you may cancel installation and contact your dealer or Duxbury Systems to return the software, within 90 days of your purchase.
If you accept the license agreement, simply click Next, or type Alt+N or Enter, to continue.
The next screen looks like this:
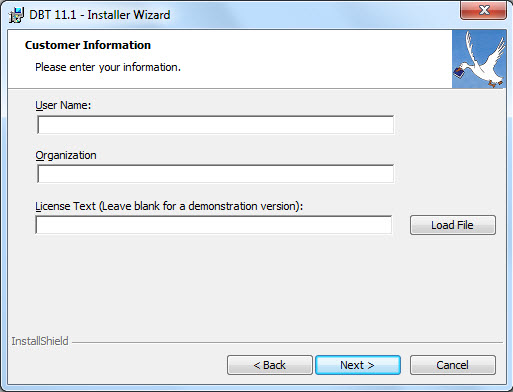
Some parts of the dialog, the User Name, Organization, and License Text fields, may be filled in. Unless you hear otherwise from your network administrator or supervisor, there is generally no need to be particular about how you fill out the first two fields.
If you wish to enter (or correct) the User Name, type your name when the dialog first appears, then type the Tab key to move on; if you don't want to enter (or correct) the User name, just type the Tab key.
Now, if you wish to enter (or correct) the Organization, type your company name and Tab to move on. If you don't want to enter (or correct) the Organization, then just type Tab. This datum is very often left blank.
At this point, you'll have reached the critical part of the dialog. Into this third field, you must enter your License Text. If you are updating to DBT 10.6 from an earlier installation, then your License Text usually be displayed already. If this is a new installation, then you should find your License Text, in both print and braille, on card stock in the original shipping carton. Be sure to enter the License Text exactly as it appears on the card, paying attention to spaces and capital letters.
License Text will usually look something like one of the following samples:
DBT H1234-12345678
or
Single-user license G9876-98765432
If you have any difficulty locating your License Text, then please contact your dealer or Duxbury Systems.
Leave the License Text field blank if you are installing a demonstration version of DBT. You'll be given the chance to supply your License Text after DBT is installed and running, should you decide that you wish to purchase a license.
When you've completed the license text, or decided to omit it, click the Next button, or type Alt+N or Enter, to continue.
This step couldn't be simpler! You'll see a screen like this one
:
Just click Next, or type Alt+N or Enter to continue. Changing anything in this dialog before clicking Next would start you along toward a Custom Installation. We don't recommend that for most users.
The next screen simply shows you the answers that you've chosen so far:
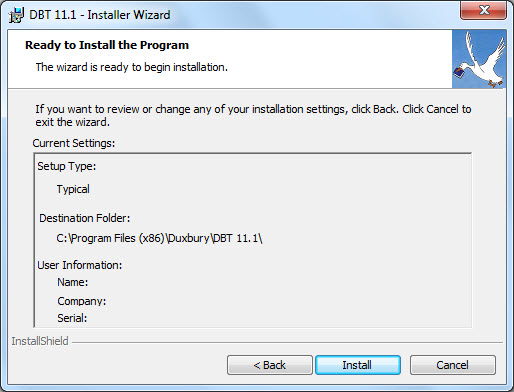
This is your chance to stop and review the information you've given to the installer so far. If you want to make a change to the information on any of the earlier screens, click the Back button, or type Alt+B to return to the previous screen. That screen, in turn, will have a Back button for you to press (or type Alt+B), and so forth through to the first screen of the installer. Once you've made any corrections, use the Next button, or type Alt+N, within each dialog, until you've returned to this one.
Usually, however, there's no point in using that Back button. Just click the Install button, or type Alt+I or Enter, to let the installer go about it's work. As the installer proceeds, you'll see a screen like this:
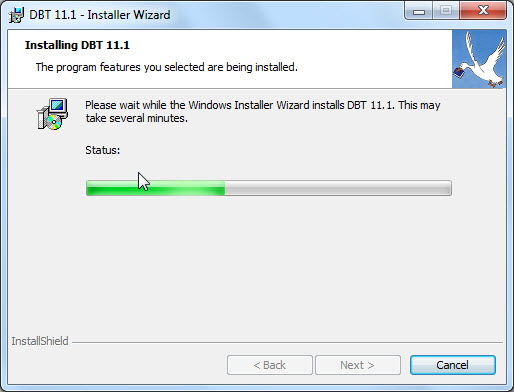
Even now, you can cancel the installation, though this takes longer than it would have before, because cancelling now will leave the installer with some cleanup tasks (which it handles automatically) in order to leave your computer unmodified.
The status bar will reset itself several times and progress again from the left to the right. This can be modestly frustrating, but it is perfectly normal for this kind of program installation.
When the installer has finished installing DBT and configuring your system, you'll see one final screen, like this one:
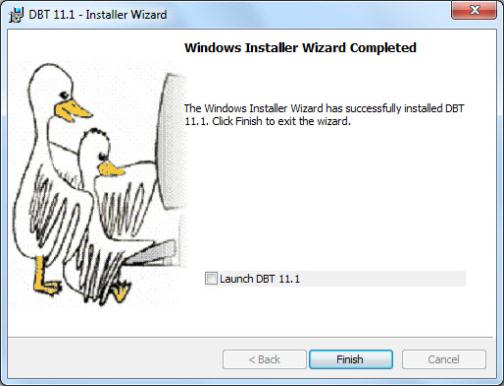
It is often a good idea to check the "LaunchDBT 11.1 SR3" button, or type Alt+L, before clicking Finish, or typing Alt+F or Enter. Only "Finish" is truly required, but if you check the "Launch DBT 11.1 SR3" button first, then the Installer with start DBT for you. Not only will this allow you to quickly confirm that DBT is working, but you'll also be able to Activate DBT (under most circumstances) and install and configure embossers. If you aren't the end user, and the end user doesn't have Administrative Rights on this machine, then you should perform these tasks before turning the computer over to the end user.